Top 10 Tips –
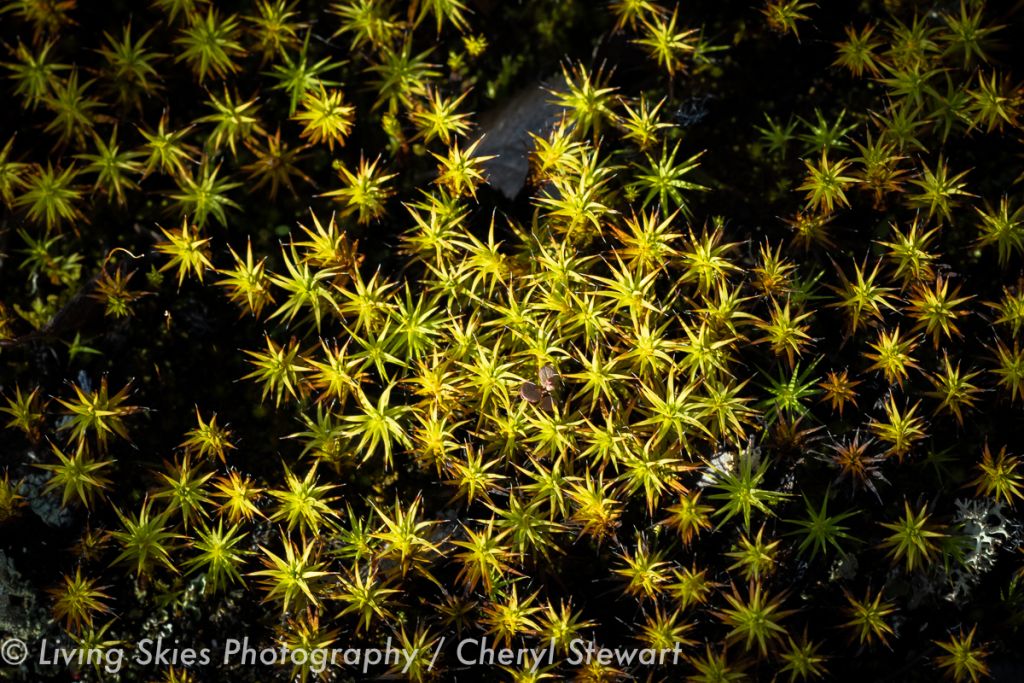
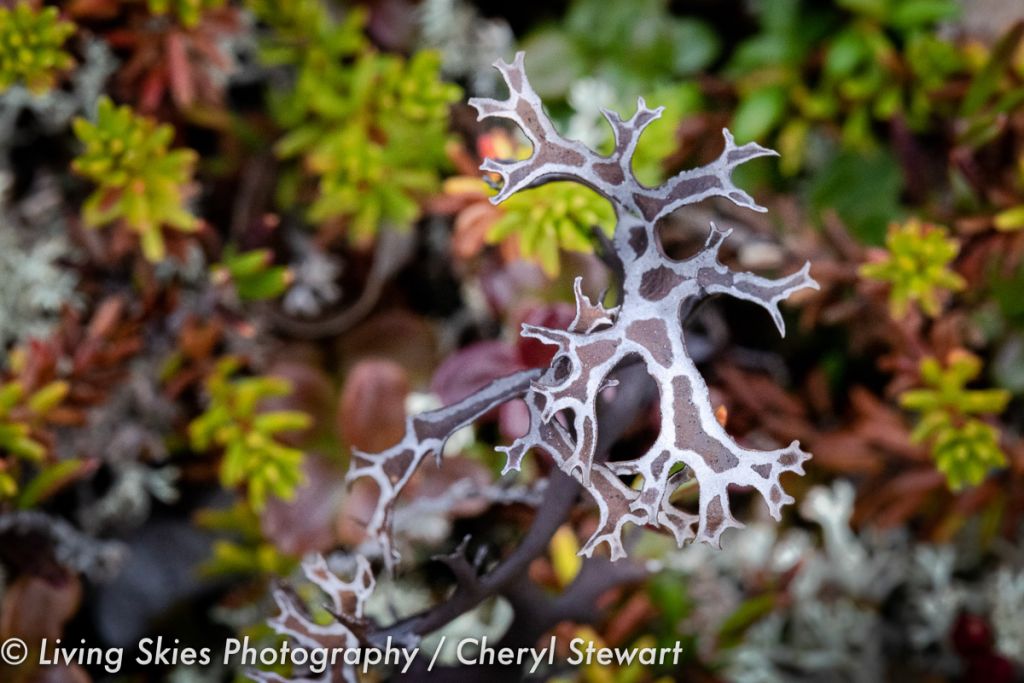
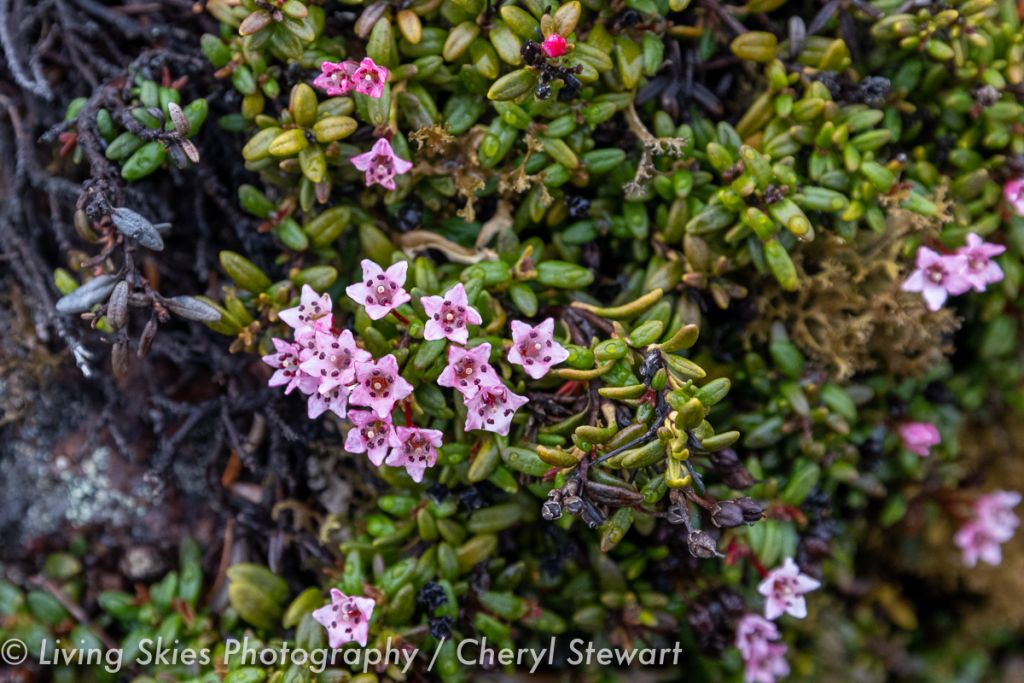
Macro photography is all about showcasing a subject larger than it is in real life — an extreme close-up of something small. There are dedicated Macro lenses and extension tubes to use with your existing lenses, both will help you get closer and “enlarge” the flower, bug, berry, or whatever subject of your choosing, so you can compose a full frame image of “something small”. A dedicated Macro lens has advantages over the extension tubes – they also cost more. Do some reading and decide what is best for you. If you are using a point and shoot camera, you don’t have to worry about either, but you will need to check your camera for a “close-up” mode or see how close you can zoom in to something and still focus. One of the key parts of creating a macro image is to slow down, think about what you want to capture, then set about doing it.
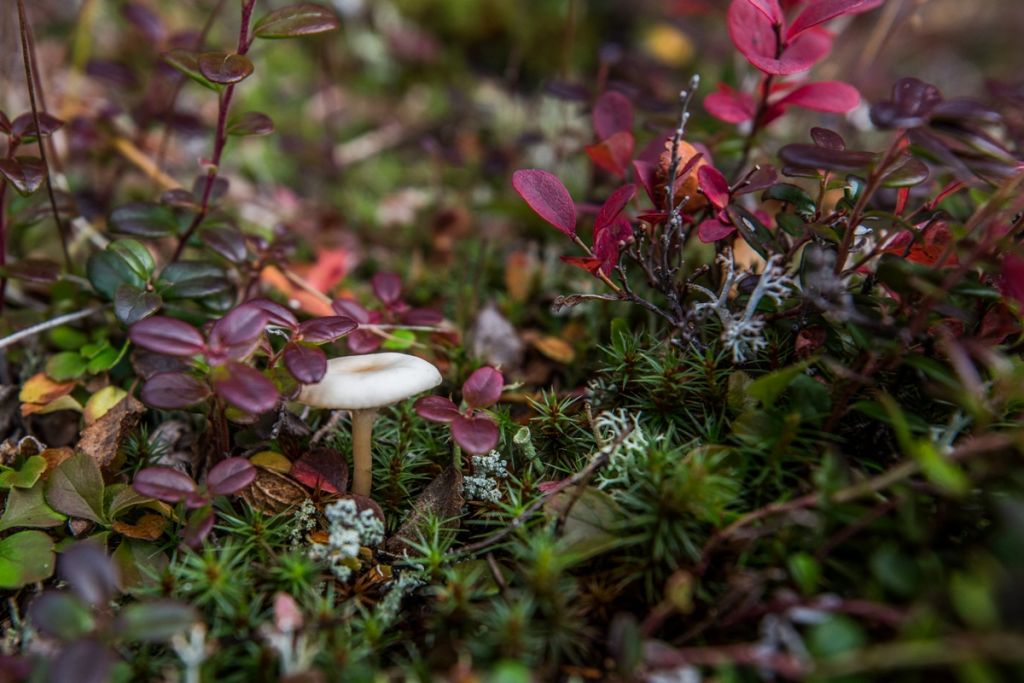
Here are some of my top 10 tips for shooting macro while on the tundra.
- Adjust the focus. Use manual focus or adjust your focal point to focus directly where you want it. Ending up with a sharp image depends on other factors in your exposure, but if none of it will work out if you haven’t focused to begin with. Determine where you want the “sharpest” place to be in the final image, and make sure you are tack sharp there before you shoot. Practice focusing on the front, middle & back of your subject, and see what the results look like.
- Stabilize your camera. If possible, use a tripod, if not, try a bean bag, or rest your camera on something. If you can’t do any of those things, be sure to have your shutter speed high enough to stop any movement. Not just your camera movement, but also the subject, bugs move, flowers blow in the wind. You need to be sure you have enough light to balance your shutter speed with the f-stop you want. Practice holding your camera at slower shutter speeds and see what a realistic slow limit for you is, then stay above it.
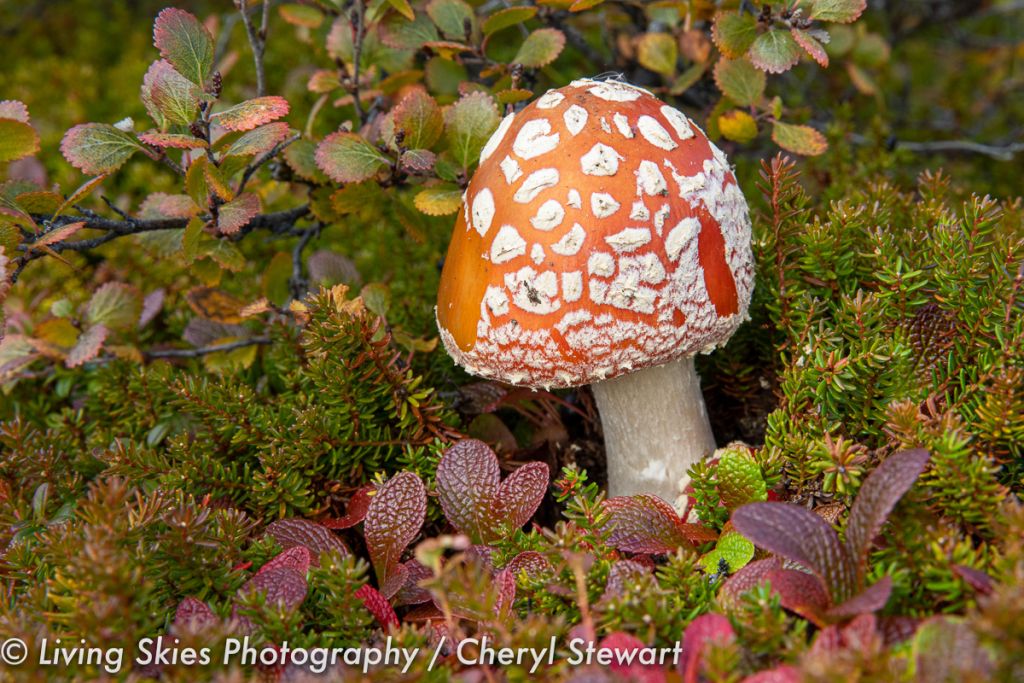
- Be Creative. If your subject is movable, move it, and set up the shot you want. Sometimes you can change the foreground, background, lighting conditions and so on. If you are comfortable moving that bug to a pretty branch or leaf, do it. If you are shooting a mushroom, or berry that you can’t move, you will need to move yourself and your camera. Try different angles, directions, use a coat or diffuser to reduce hot spots, or reflector or hunk of white cardboard to lighten shadows.
- Experiment. After you have the shot composed the way you want it, shoot a bunch of images. Change your f-stop, change your focal point, and experiment. Use your creative brain to change the way the scene looks, or how your subject is captured within your initial composition.
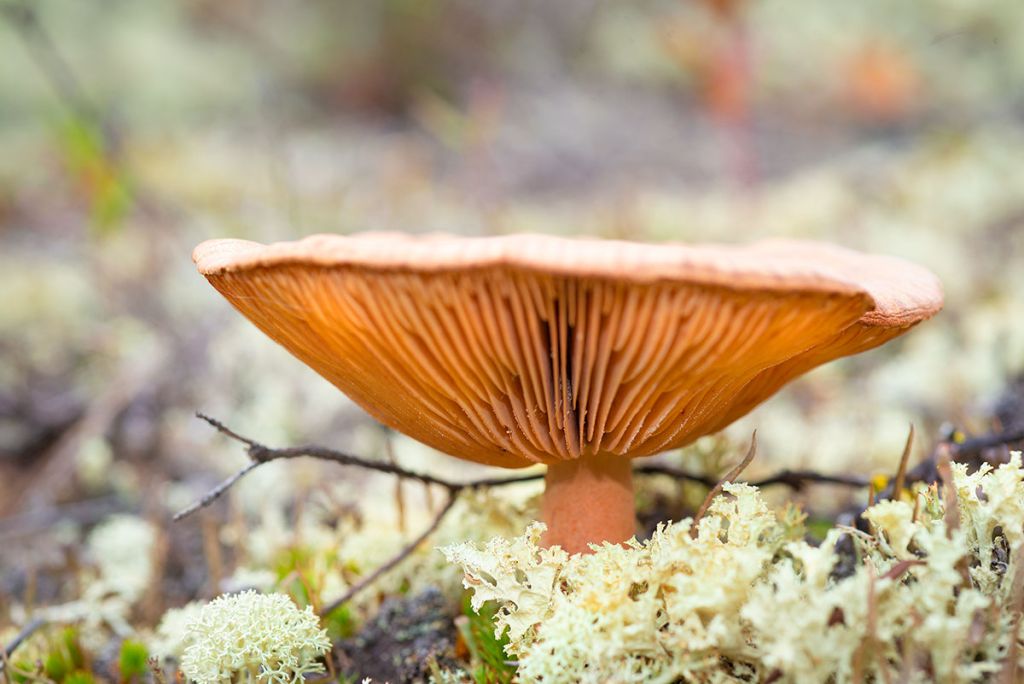
- Play with bokeh. Simply put, bokeh is the pleasing or aesthetic quality of out-of-focus blur in a photograph. You can create that blur or soft focus by adjusting your f-stop, or changing your focal point.
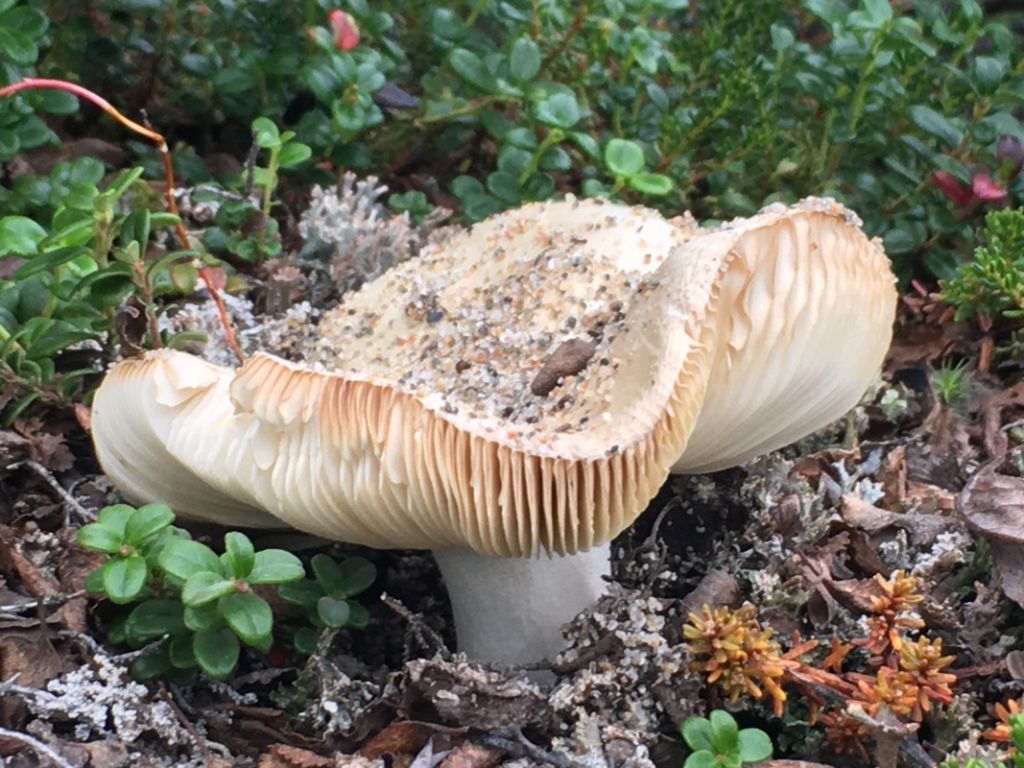
- Keep it tidy. When you are shooting a close-up, everything shows up. Dirt, stray leaves or twigs, grass in the foreground, damage to the edge of a mushroom, blemishes on berries, and so many things you never see if you aren’t looking. “Landscape” if you can but be careful not to disturb your subject. Look at your berry or mushroom closely before you set up your shot, pick its good side, or maybe its “sister” is in better shape. Look around and pick your subject, and your composition based on the scene you want to capture.
- Use different angles. Try to start with your lens parallel to the subject, that will increase you focus area, but experiment as you go. Shoot top down, bottom up, change the image based on what angle you see it from.
- Shoot sample shots & adjust as you go. Sometimes you will see distracting light spots, or stray grass, look for leading lines, check your focus, see if you should be closer, or if you are too close… refer to rule number one, Shoot a lot… slow down and have fun!
By Cheryl Stewart
